Connecting a Beanstalk Repository to DeployBot
DeployBot allows you to connect to the Beanstalk version control system to deploy code from Git repositories.
To connect a Beanstalk repository, go to your DeployBot repositories page. Click on Connect a repository in the top left. On the connect to a repository page click on the third option, self-hosted.

Next, you'll need to know your repository URL; this can be found in Beanstalk by going to the activity page of your Beanstalk repository.

You'll have the option to choose your authentication method; you can use your Beanstalk username/password. Next, you can choose a name and color labels you'd like to add to the repository.

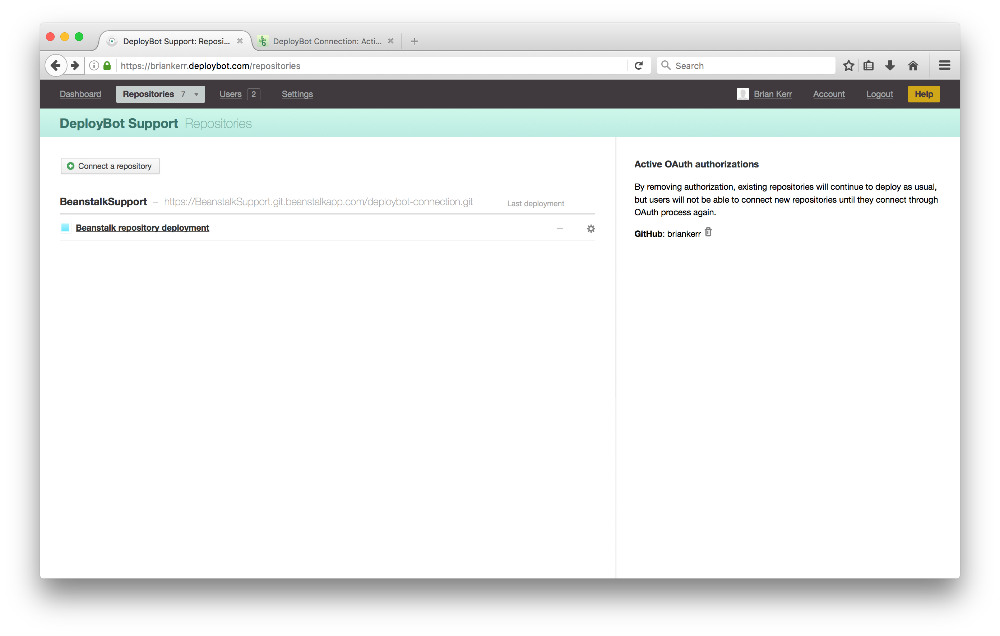
Click on the Connect button and DeployBot will connect to your Beanstalk account. The page will reload and show the connected repository.
Setting up automatic deployments
After setting up your repository in DeployBot, we suggest adding a Webhook to Beanstalk enabling automatic deployments by pushing commits to DeployBot. Without this setting, deployments will need to be manually refreshed in DeployBot.
To do so, go to to the Settings page for your repository in DeployBot, then click on Webhook & Badges. In the top section, copy the URL under Refresh repository.

In Beanstalk, browse to the Integration page for the desired repository (under Settings) and follow these steps:
- At the bottom of the page, click the Modular Webhooks integration
- On the following page, click Add a webhook
- From there, paste in the URL you copied from your DeployBot account, check the box beside push and then click Save
Now each push to your repository will automatically trigger a deployment in your desired DeployBot environment.

At the bottom of the page click on the Activate button and your Webhook will be enabled. Beanstalk will now send changes to your DeployBot whenever there is a push to the repository.