Setting up and using Build Tools
DeployBot Build Tools are a way to prepare your source code for deployment. You can provide us with a script or a single command that needs to be run, and we will execute it on our servers, inside a protected Docker container, with your source code attached to it. It is a great way to compile or minimize your assets, build your executable files, run tests or a linter on your code, and many other things.
How does it work?
We create a container, selected by you from our predefined containers or from the official Docker registry.
We execute your build script in that container as part of the deployment process. We also attach a version of the source code that you're deploying to that container.
If the build is successful, any files and directories that are changed/added/removed during the build will be deployed to your server, along with the regular changes introduced by your commits.
If the last command of the build was a failure (had non-zero exit code), the deployment will stop and will be marked as failed.
Setting up
In order to get up and running, you don't need much. In your deployment server settings, you will be able to select one of the predefined containers - they are usually a good fit for most purposes. You can find the Build Tools block on your server settings page, in the 'Compile, compress, or minimize your code' section:
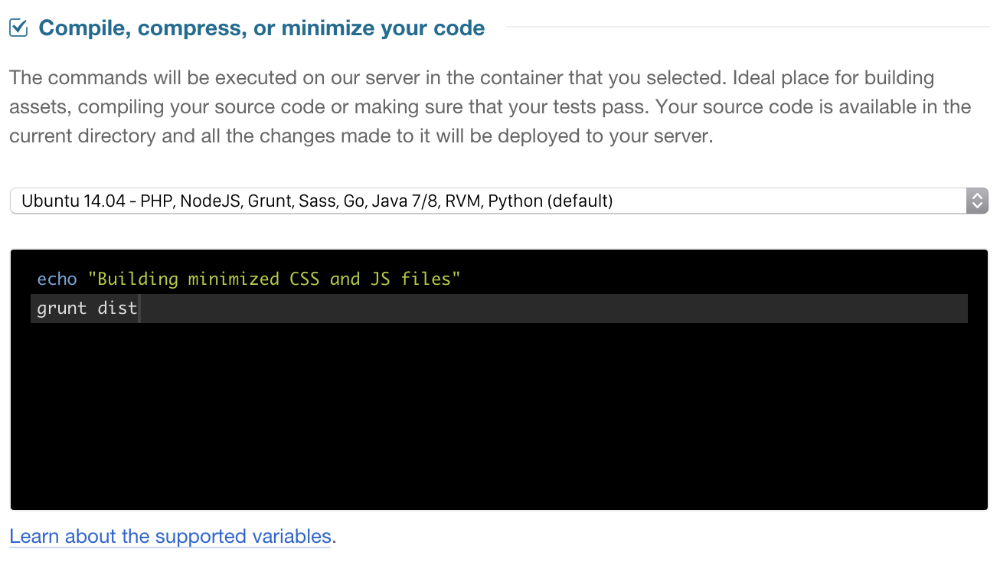
After the container is selected, you just need to put in your build commands. For example, your grunt commands or your rake commands. These commands will be executed as a script in our container. Your source code will be available in the /source directory - this is the default directory for your build script. Any files written to the /source directory will be deployed to your server.
Managing dependencies
Sometimes your build script needs to install certain dependencies in order to be executed. You can do that right in the build script field, but that means every time your code is deployed the dependencies will be installed again, making the build slower.
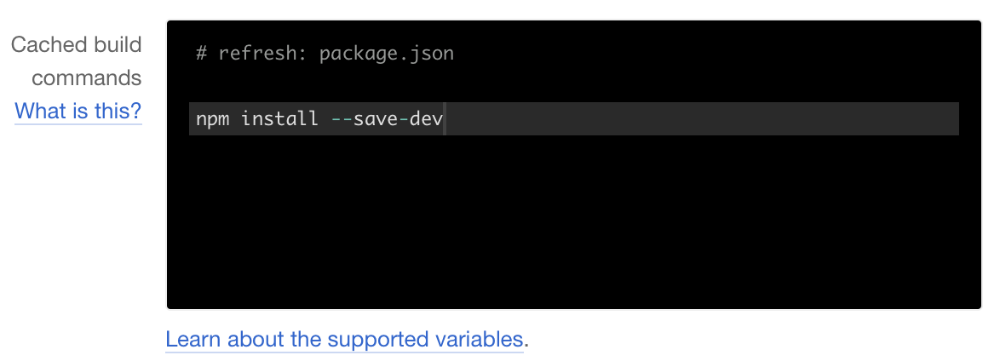
A better option is to use Cached build commands option in advanced settings. Any script placed in this field will be executed only when the following files changed in your repository: Gemfile, Gemfile.lock, package.json, gulpfile.js, Gruntfile.js, project.clj, composer.json. You can also specify what particular file change you want to trigger re-caching of build commands by adding this as the first line of your script: # refresh: myfile.js, test.ini
It could look like this:
The following consideration can be made for handling dependencies:
When possible, do not store dependencies in your repo. Use .gitignore.
If they are required, use the cached build commands option above to ensure DeployBot only includes dependencies when a related file is updated.
If your build produces some undesired artifacts (such as node_modules directory containing your dependencies), you need to exclude it from the upload. Use the exclude option in your release server settings in the "exclude certain paths from being uploaded" section.
Configuring your own containers
Sometimes you need to perform some elaborate configuration that you don't want to repeat for every server, for convenience reasons – like build time or configuration time. In this case, you can create your own containers, based on our predefined containers or any public containers from Docker registry. To do so, go into Containers tab in your account settings and create a new container:
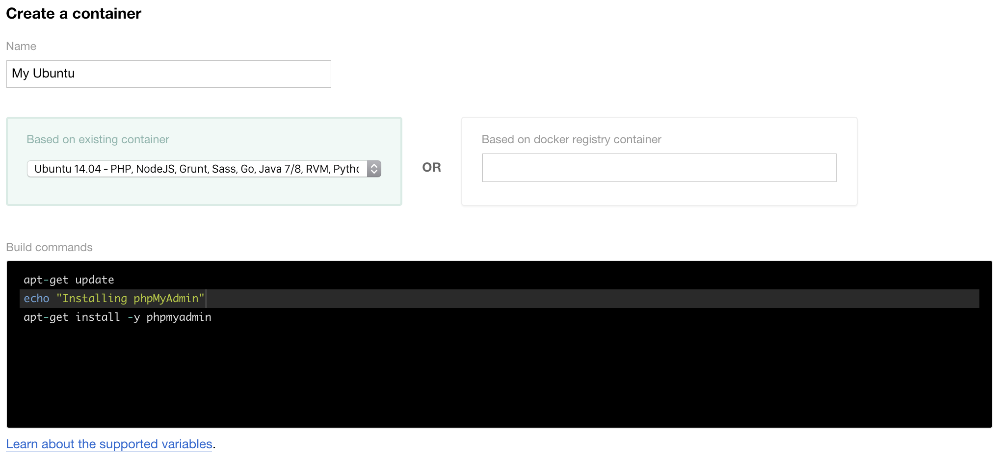
After the container is created, you should be able to use it for all the servers in your account. This can save you considerable time during configuration and your builds. Also, if you want to some really advanced container configuration, like using a different Linux version or you have some exotic software requirements, you can build the container on your own and deploy it to the Docker registry first, and then create a new container using it as described here.